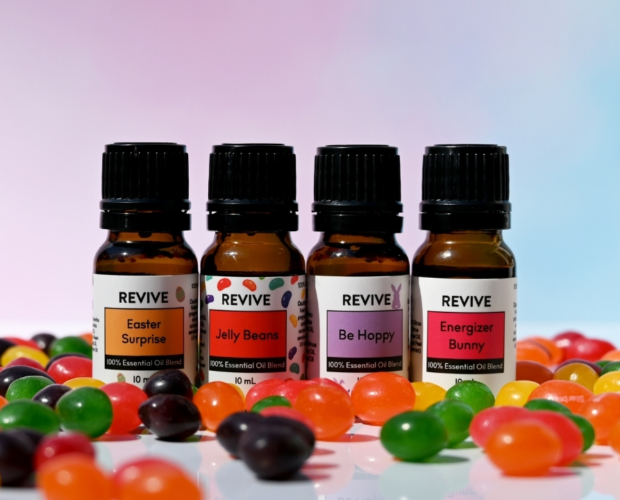
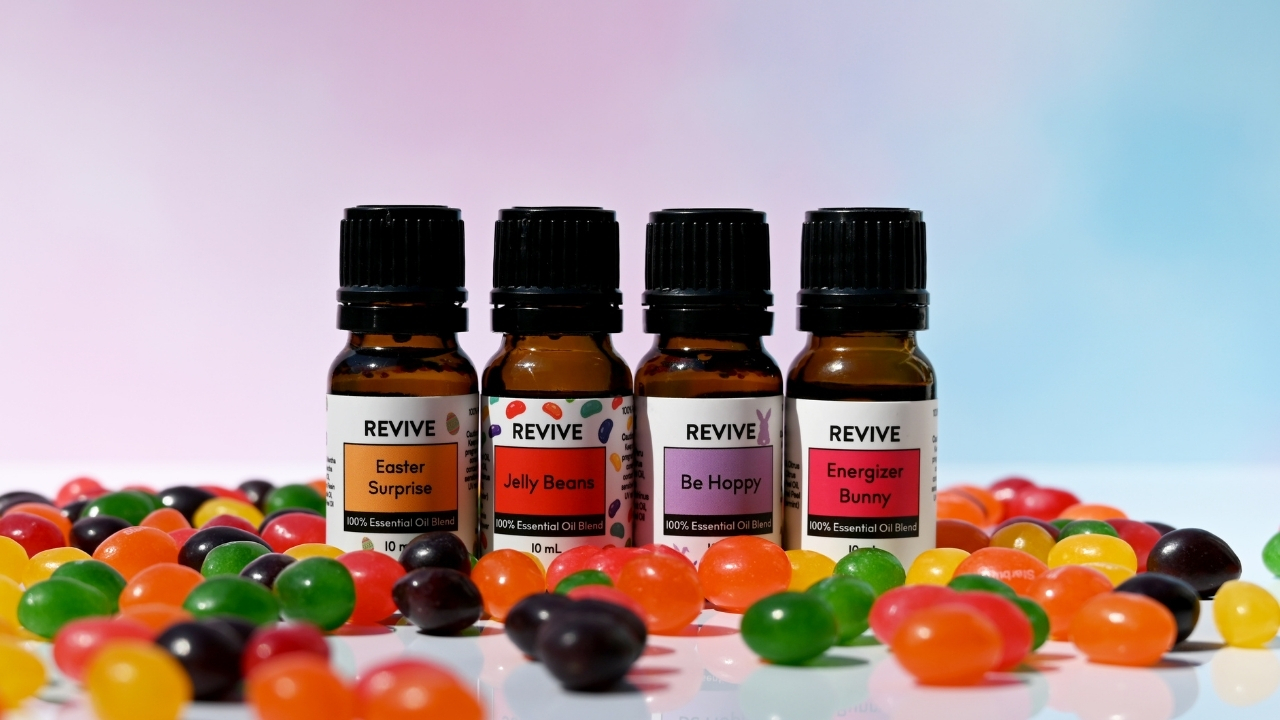
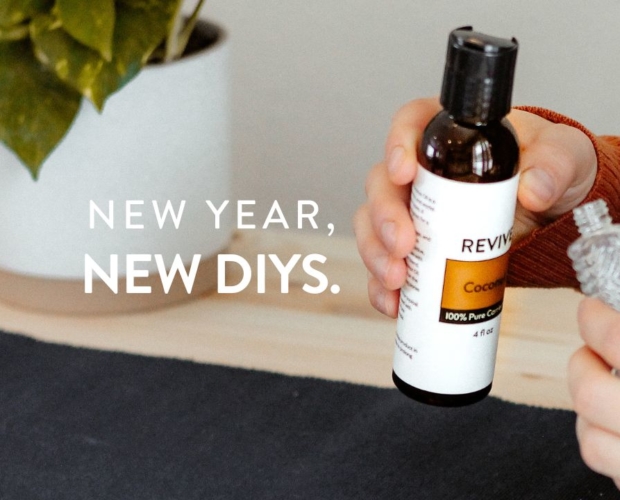
As the fresh energy of Spring arrives, Easter brings a sense of renewal, joy, and creativity. This is the perfect time to make a few fun do it yourself Essential Oil recipes. With citrusy scents, bright colors, and nature inspired whimsy, it is such a great way to elevate your holiday celebration while maintaining a clean, non toxic home. Whether you will be gifting the crafts, filling baskets, or using them in your own home, these easy DIY ideas will help you capture the cheer of the season.
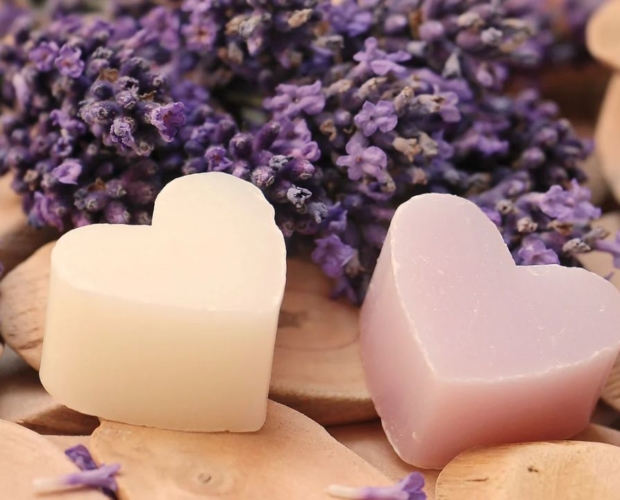
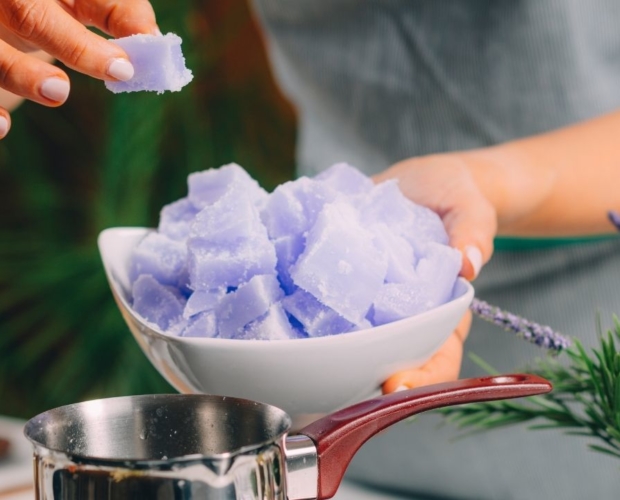
Easter Bunny Soaps:
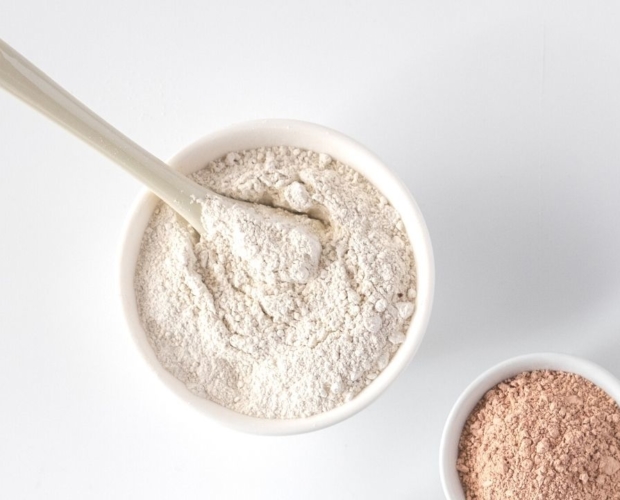
In a double boiler or the microwave, melt the soap until fully liquid (do not overheat). Stir in your coloring per package directions and then mix in your Essential Oil. Carefully pour into your soap molds and use the stir stick to break up any bubbles if there are any. Let them cool overnight and pop them out the next day. Place these adorable soaps next to your sink or fill your Easter baskets with them.

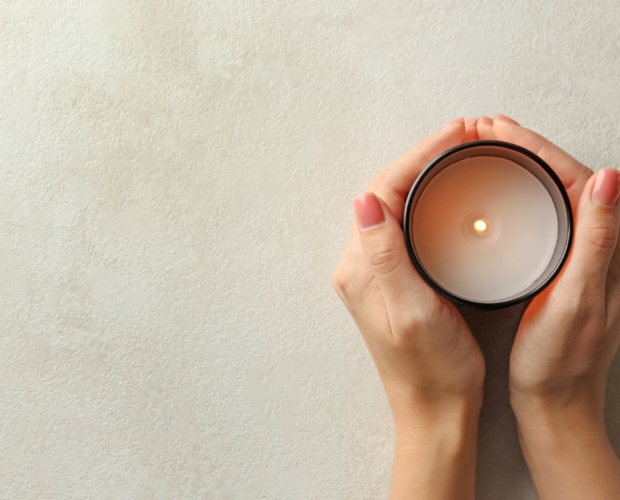
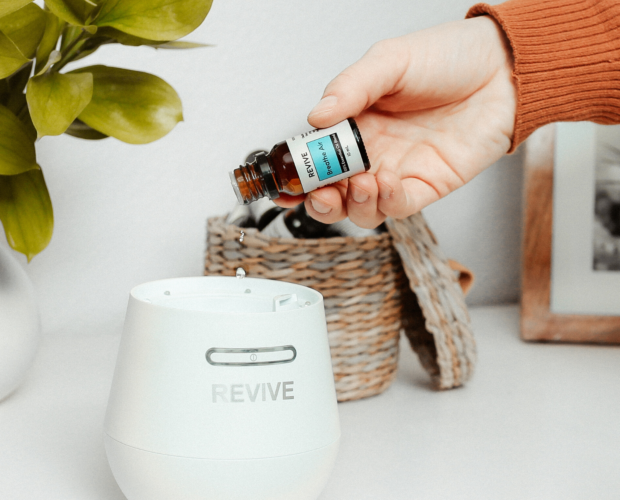
Add all of the ingredients to your diffuser and enjoy the scent of the popular holiday flower while it provides a calming atmosphere.

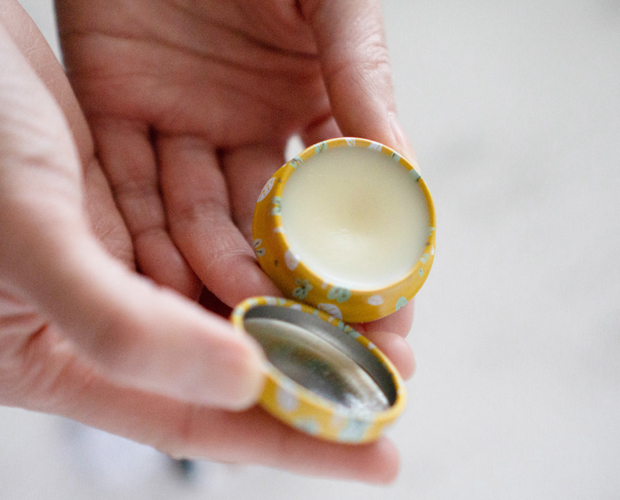
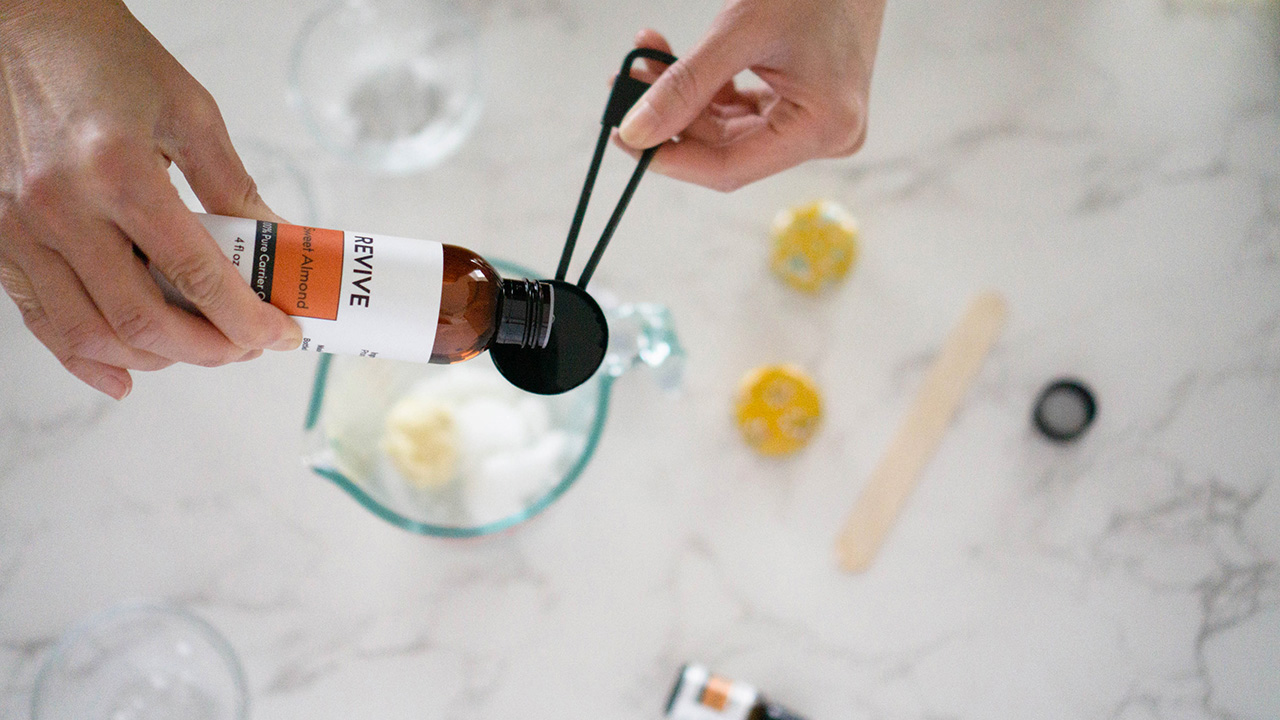
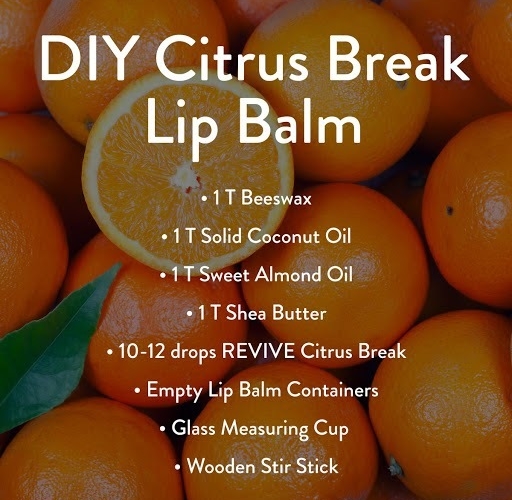
In a double boiler, melt all of the ingredients except for the Essential Oils. Remove from heat and gently stir in REVIVE Jelly Beans. Once mixed, carefully pour the hot liquid into the lip balm containers, let set until hardened and cooled. Add a label if desired.

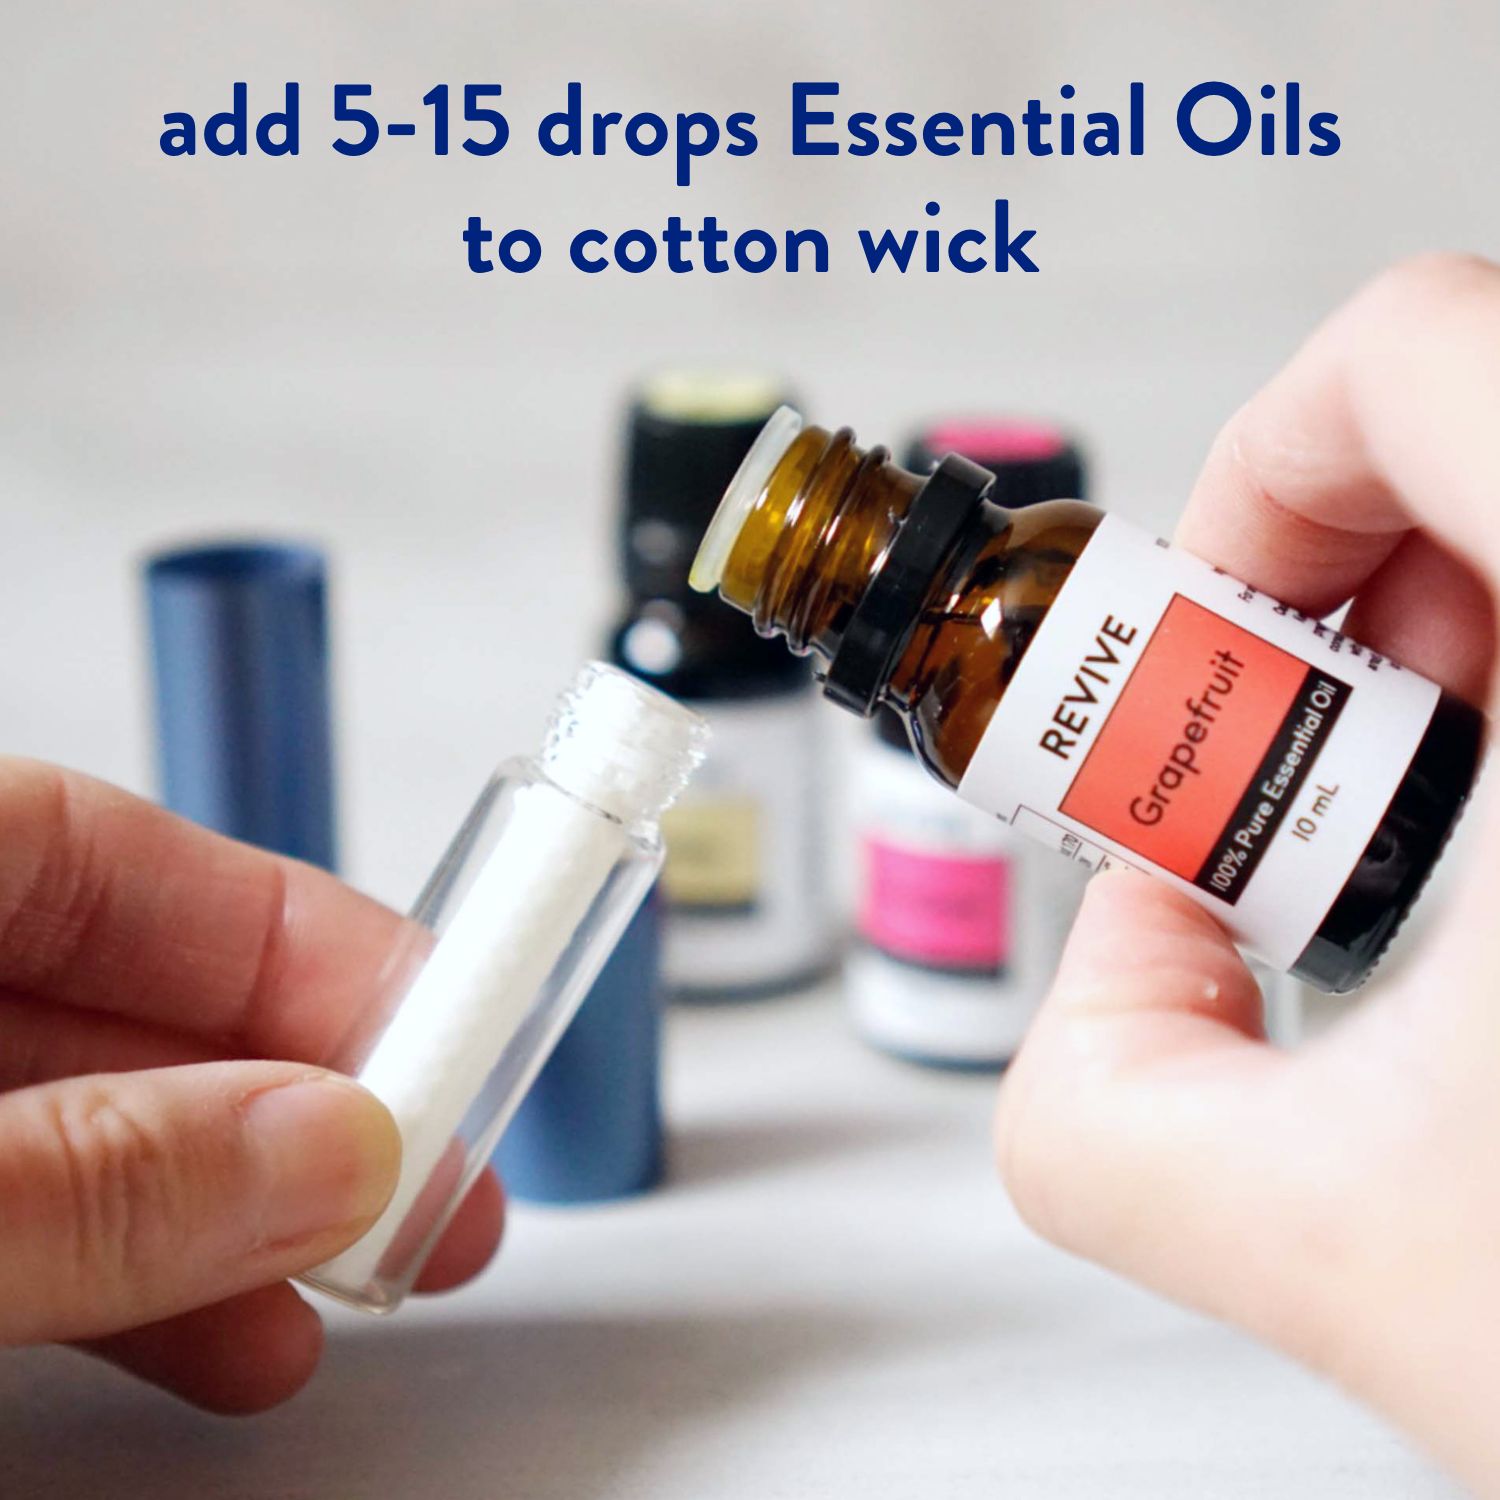
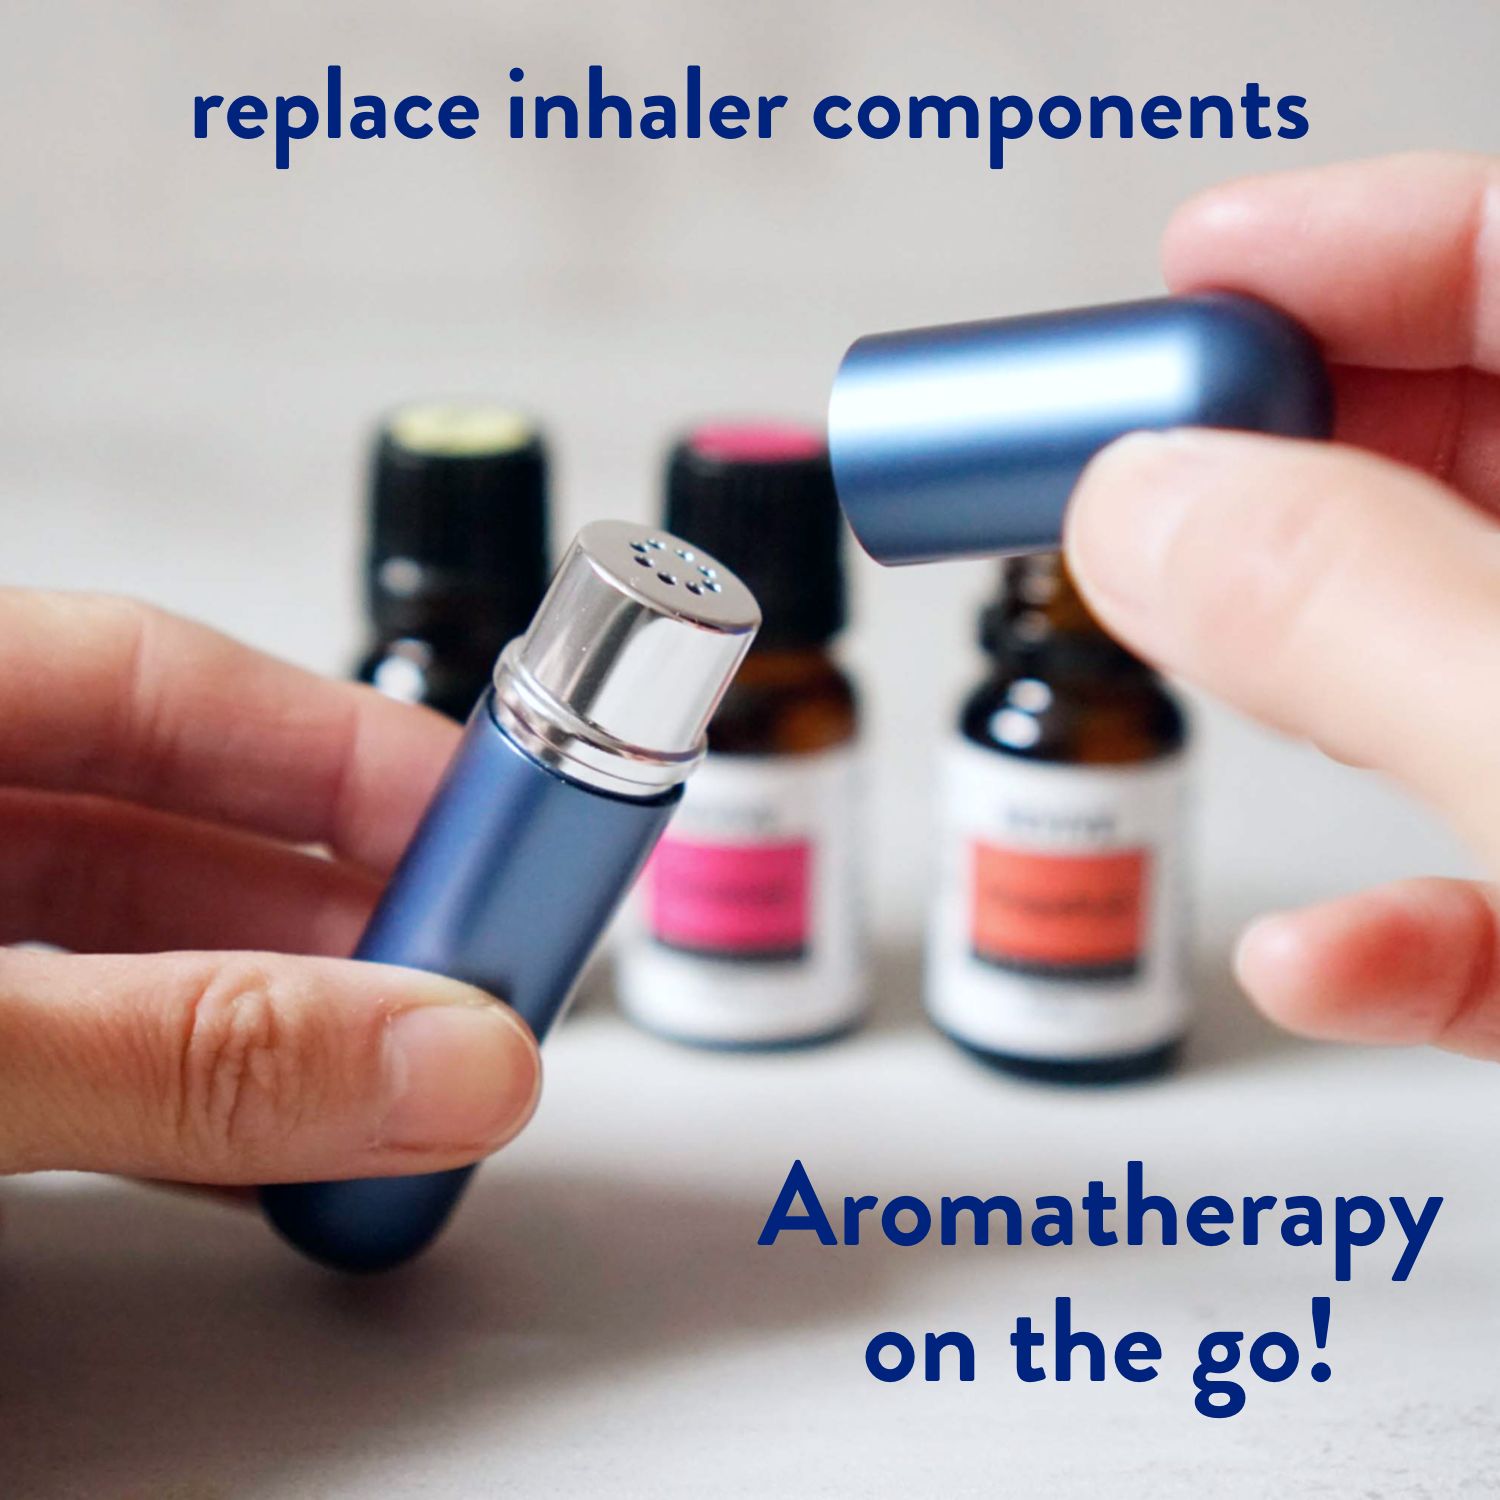
Find the main seam of your stuffed animal in the back. Using the seam ripper, cut open an area that is the exact length of your velcro. Place a few drops of the Essential Oil onto your pad/cotton and put it inside the hole. Now take your velcro and fit it inside the seam evenly on both sides and close it up. If the velcro is not staying as stuck to the fabric as you need, feel free to put a couple stitches in to hold it in place. Refresh the oil as needed.
This makes a great gift for a child’s Easter basket!


")


")


")
")

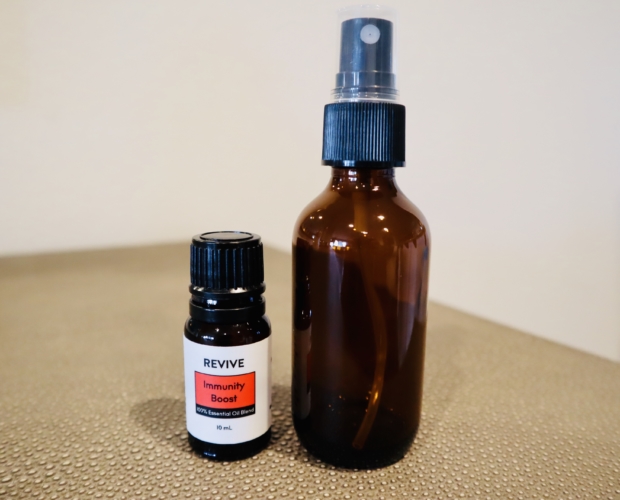
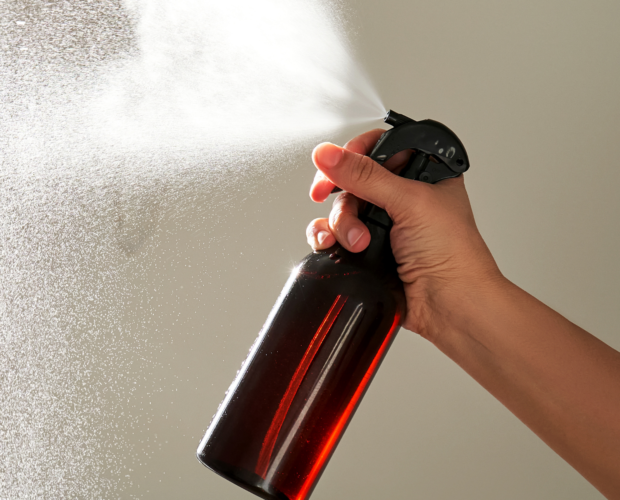
 Want to add a little extra pep to your holiday gifts this year? Oregon Peppermint has an amazing mint aroma and is from a beautiful Oregon farm in the Willamette Valley. The farm even gave us their insider Peppermint tip for the holidays – make a Peppermint spray and give your gifts a fresh and festive aroma before delivering them to loved ones!


")


")