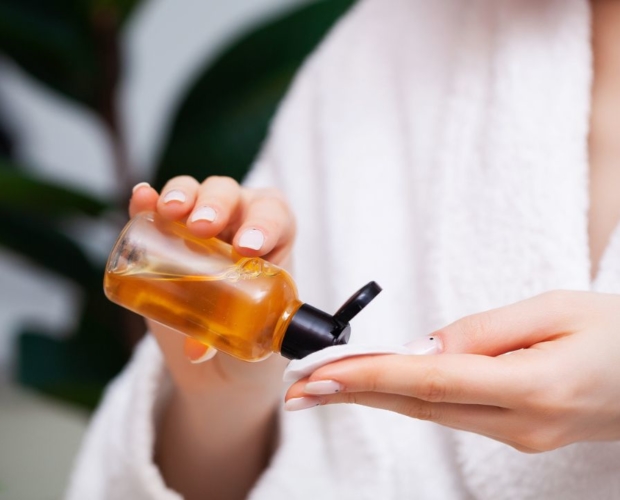
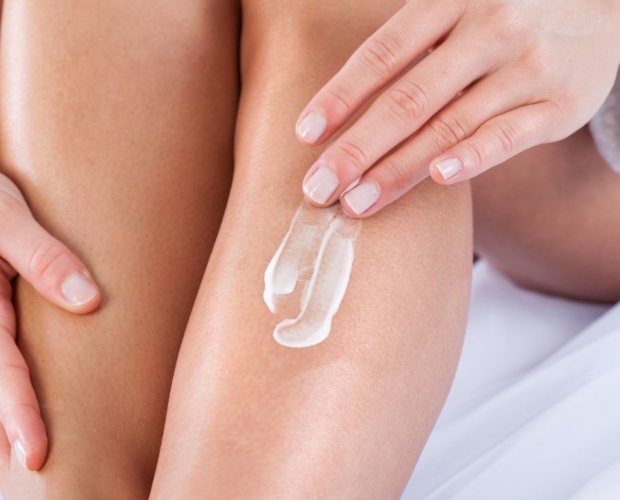
As Father’s Day approaches, you might be thinking about what to give Dad. As you know, homemade gifts always make a lasting impression because they come from the heart. This year, consider making this useful aftershave that not only smells great, but helps heal the skin too! This all natural recipe helps close pores on the face and sooth irritated areas… plus it is fun and simple to make.
What you Need:
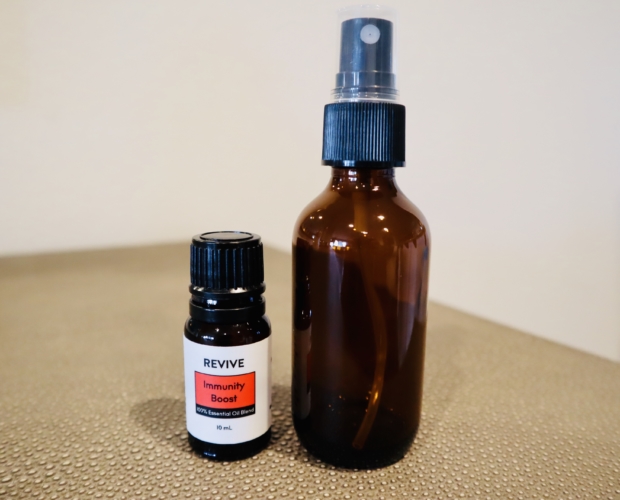
1 oz Spray Bottle
2 tsp. Witch Hazel
1 tsp. Aloe Vera Gel
½ tsp. Vegetable Glycerin
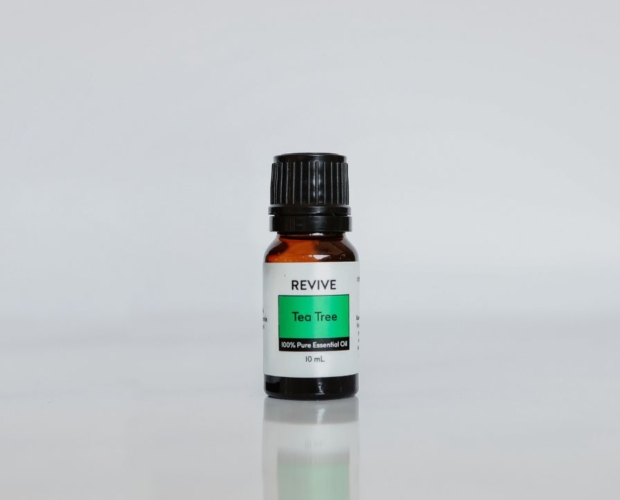
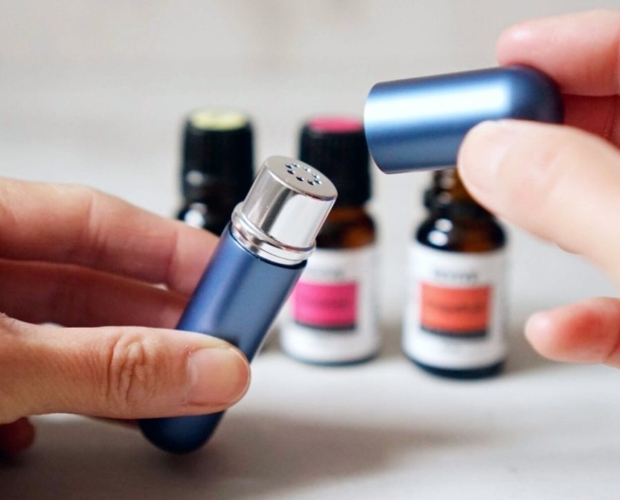
2 drops Tea Tree Essential Oil
2 drops Cedarwood Essential Oil
3 drops Balsam Fir Essential Oil
1 drop Frankincense Essential Oil
How to Make It:
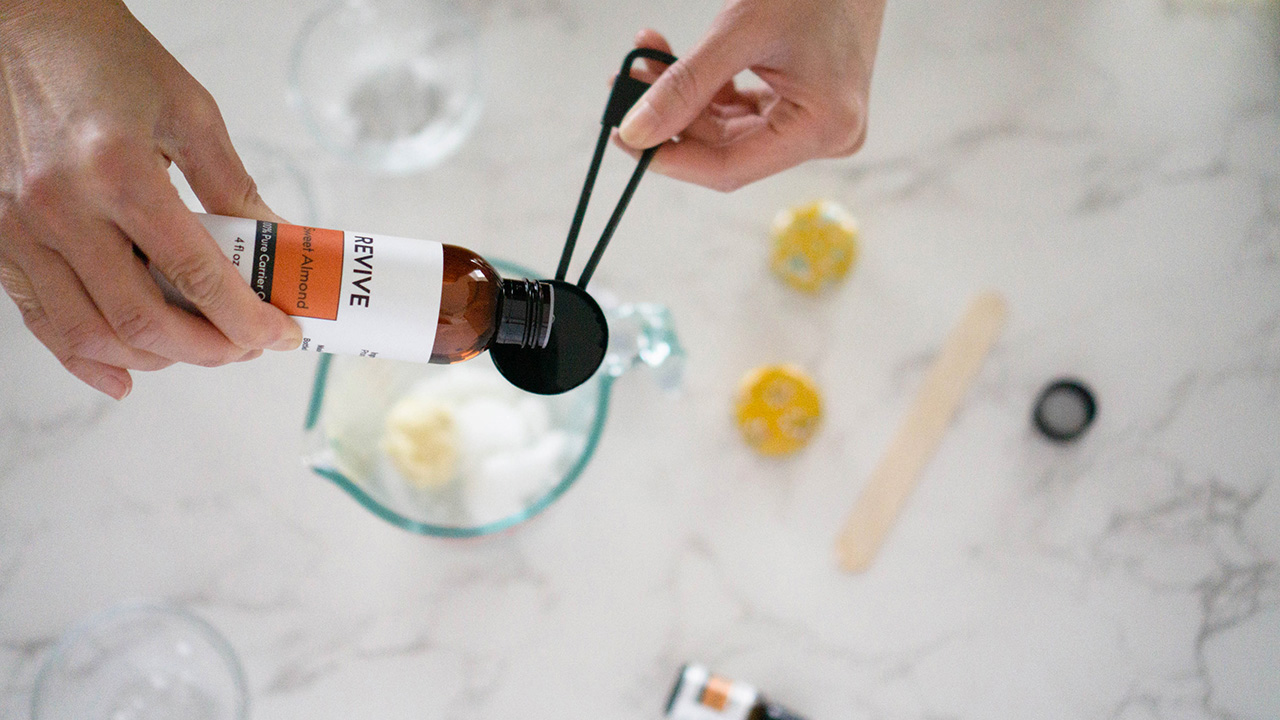
In a small bowl, stir together the Vegetable Glycerin, Aloe, and Essential Oils thoroughly. Gently pour into the bottle and add the Witch Hazel in as well. Close the bottle and shake well to mix it all up. Print the provided graphic onto a 1 ½ inch label template and apply to the bottle.
How to Use It:
Dad can simply spritz his Dapper Dad Aftershave as needed after shaving for smooth smell-good skin. Keep refrigerated for an extra cooling effect and to preserve the aftershave for a longer time.
And here is a convenient label you can print off to add to your DIY:


")


")
")


 Want to add a little extra pep to your holiday gifts this year? Oregon Peppermint has an amazing mint aroma and is from a beautiful Oregon farm in the Willamette Valley. The farm even gave us their insider Peppermint tip for the holidays – make a Peppermint spray and give your gifts a fresh and festive aroma before delivering them to loved ones!


")


")